Hello Everyone,
Did Wednesday sneak up on you like it did me? I thought it would be fun to experiment with cutting some fun foam stamps with my Silver Bullet Professional cutter. I tell you, this machine never lets me down! It cut the fun foam beautifully. My first few cards feature a simple background stamp:


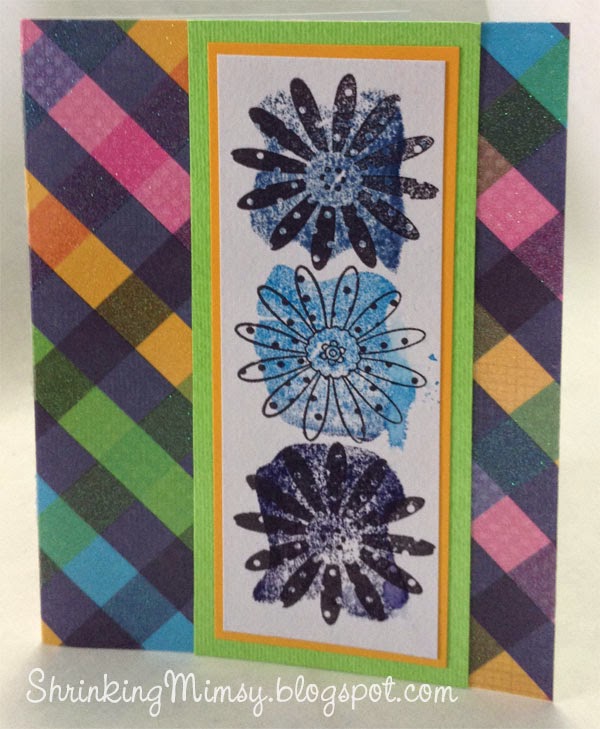


I cut these bird and branch stamps to see if I could get a bit more detail. I can! I stamped them on a background of Gelatos over watercolor paper, which gave my stamping a much more rustic edge, as the Distress bleeds out into the paper a bit.
As any of you who check out my blog regularly will have noticed, I am not the world's greatest photographer. Out of necessity, I have been a regular user of Photoshop to make my pics a bit more presentable. Recently, I discovered that I can correct what Photoshop Elements generously calls "camera distortion". (I call it camera user error.) You can find it in the "filters" drop down menu. It allows you to alter the angles of the your photo on all axis. I used it on this batch of photos that were all a bit wonky.
I was able to edit this:

Granted, it's still not the greatest photo ever, but it is a big improvement, without having to retake the photo. I love computer magic!
Hope you all have a terrific rest of the week!
Elizabeth
A very clever idea and great cards as a result!
ReplyDelete